Bow Yoho Traverse
Comfortable hut to hut ski touring in the Canadian Rockies
2025 // March 16-22, March 30-April 5, April 13-19
New for 2025: Exclusive hut bookings! We will have the Bow, Guy and Stanley Mitchell huts all to ourselves — resulting in a much more comfortable guest experience.
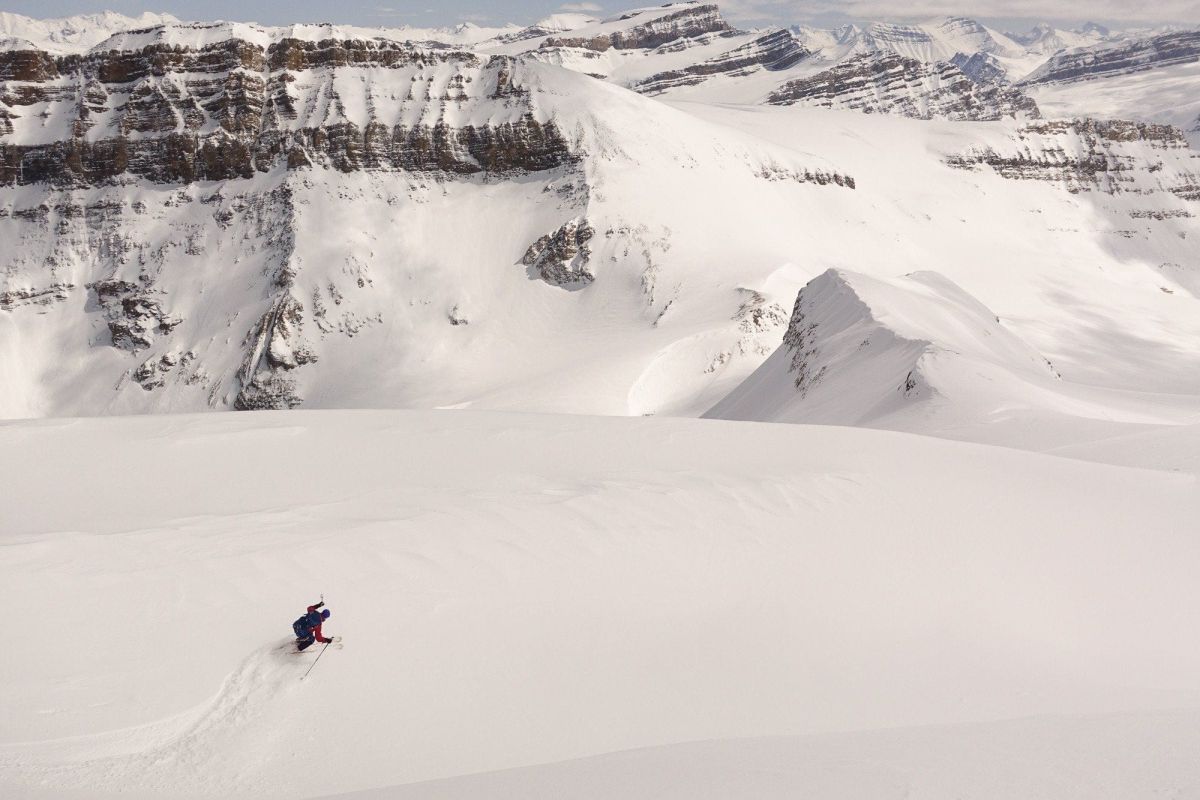
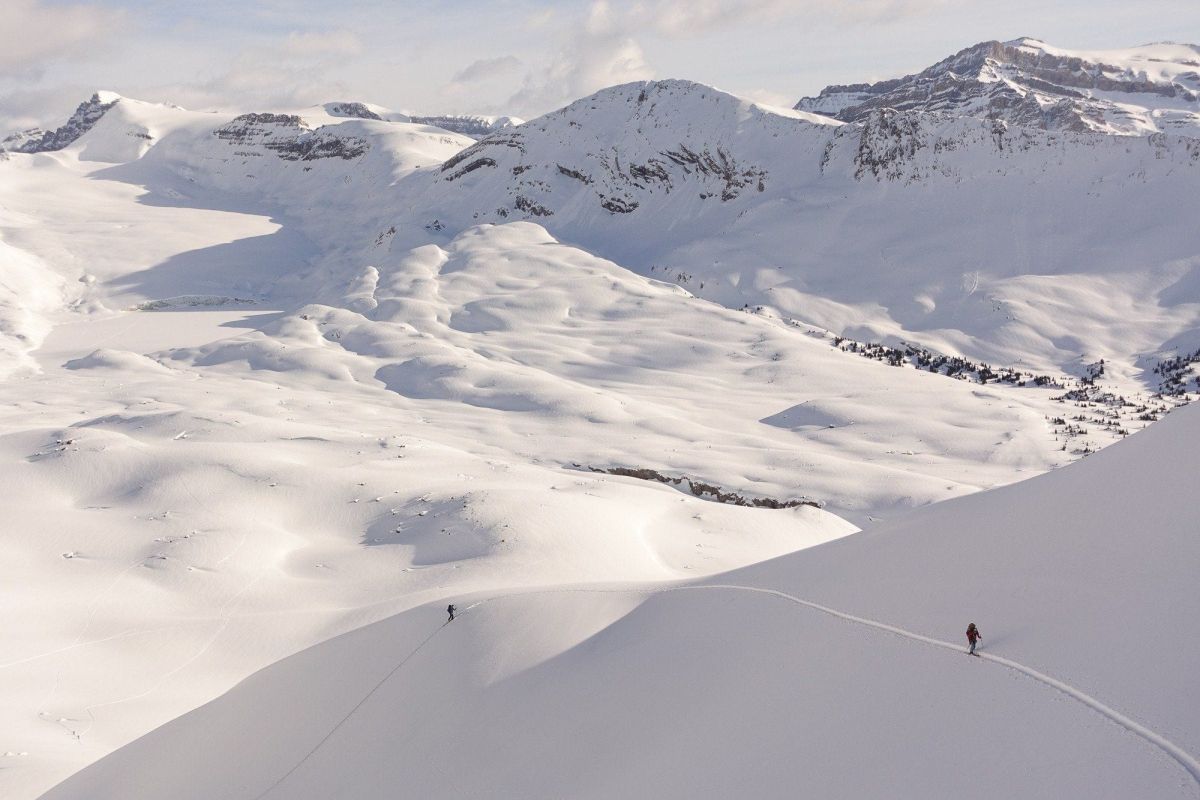
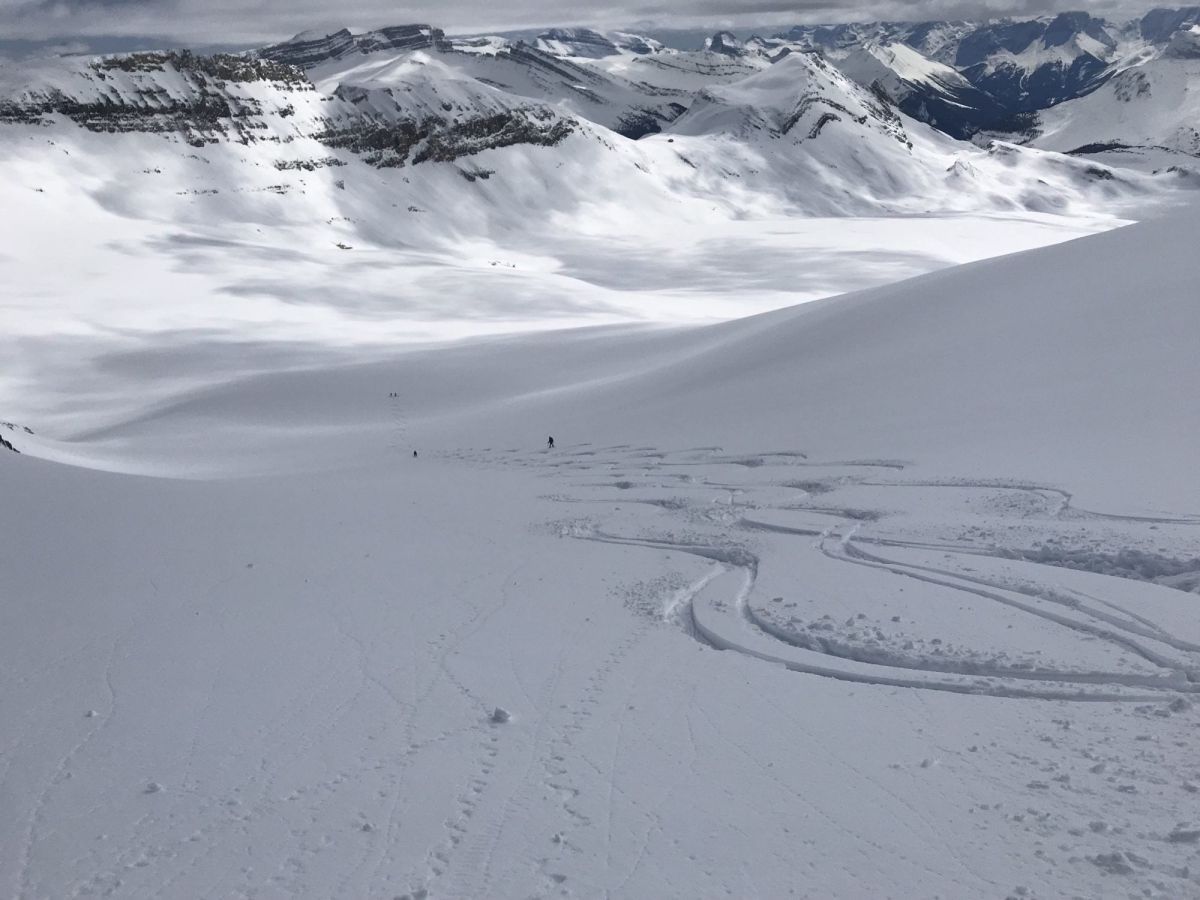
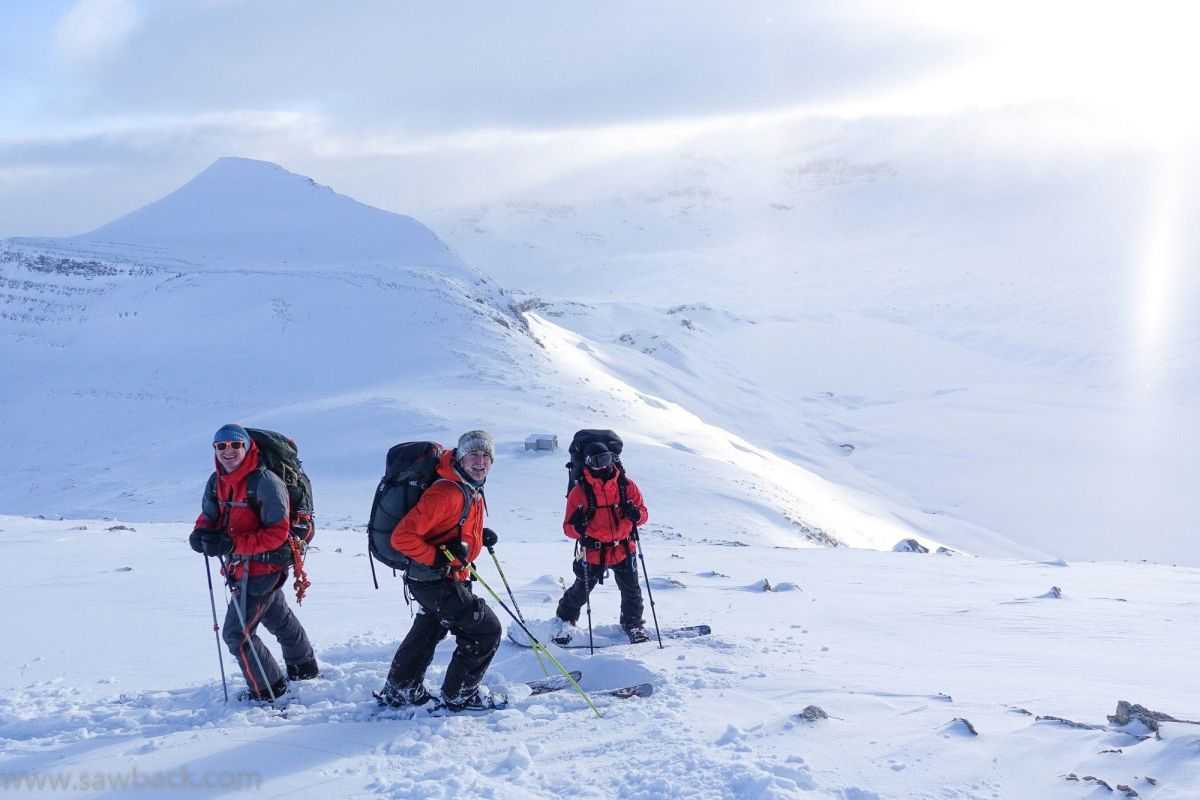
The spectacular Bow Yoho Traverse runs roughly north-east to south-west across the continental divide from Bow Lake to the Yoho Valley, crossing the Wapta, Yoho and Des Poilus icefields on the way. We take away a lot of the hard work and add a lot of fun to this classic Canadian Rockies hut to hut ski touring traverse. Porters bring our food into Bow and Stanley Mitchel huts, making for light packs and easy traverses. We will spend our days travelling and shredding March Powder. Nights we enjoy the comfort of three cozy Alpine Club huts that dot this high level traverse. There’s no sense in rushing this traverse, so we will spend two nights at the ACC’s new Guy Hut, a state of the art flagship hut perched on a high ridge between the Yoho and Des Poilus glaciers. Then we’ll spend our last two nights at one of the ACC’s quaintest and oldest huts, the log-built Stanley Mitchell, and warm ourselves to a crackling fire below the treeline. We have earned our reputation as the “Wapta Deluxe” experts!
The first documented crossing of the Bow-Yoho Traverse was made in summer, 1910 by the renowned Austrian guide, Conrad Kain. Kain guided the route in six days from Laggan (present day Lake Louise) with pack horses to Bow Lake and included a first ascent of Mont des Poilus on July 31, his 27th birthday. (ACC)
A new Wapta Classic!
For decades, the Wapta Traverse has had a legendary reputation as a destination for ski mountaineering. Really, it has it all: an excellent hut system, perfect terrain for traverses, and easy access to excellent ski mountaineering objectives. The best time of the year is late March to late April when the snowpack is settled and you can still count on dry powder runs; this trip is right in that perfect window.
A near neighbour, the Bow-Yoho Traverse, crosses the Wapta at about a 90 degree angle. It is just as good, but it has only gained popularity recently, with the addition of the ACC’s most deluxe hut yet: the Richard and Louise Guy Hut. Situated between Bow and Stanley Mitchell Huts it turns a daunting 12+ hr day into two short days.
This new hut also provides a staging point for objectives around the Des Poilus Glacier zone: Mt. Collie, Mt. Des Poilus, and Yoho Peak are a few of the options that previously required either very long days from huts, or a high camp. Now you’ve got the state-of-the-art Guy Hut to return to at the end of the day! We will spend our first nights at the Bow Hut, two nights at the Guy Hut, and a final two nights at Stanley Mitchell Hut.
Our traverse begins in Field, B.C. with a gourmet dinner at the famous Truffle Pigs Bistro, as well as a hotel stay – both included in the trip price! I’ve found that this is a great way to set the tone for my Wapta trips and a great chance to mingle with the group before the tour begins.
This itinerary is longer than some other Bow-Yoho trips offered, giving us more time to explore the incredible ski mountaineering available instead of putting our heads down and charging through the traverse.
2025 DATES // March 16-22 (BY25-1), March 30-April 5 (BY25-2), April 13-19 (BY25-3)
PRICE: $2395 CAD (About $1,757 USD / €1,637 / £1,404) + 5% GST.
DEPOSIT: 50% payment secures your booking. Balance of payment is due December 1, 2024. See Payment and Booking Conditions tab for details
INCLUDED: Hotel stay and restaurant meals in Field at the start of the trip, Guiding, Food (excluding snacks and beverages), Exclusive hut booking fees, shuttle drivers (to bring guest vehicles back to Field for the end of the trip), porter service (food will be waiting at the first hut), group equipment
NOT INCLUDED: Beverages (you must bring your own tea, coffee & drink mixes), snacks (e.g. bars, trail mix, etc), transportation to Field, vehicles for shuttle (bring your own, carpool, or rent a vehicle as buses are not a good option), personal equipment
Getting to Field
Our trip starts and finishes in Field, BC. If you are flying, the nearest international airport is Calgary (YYC). The best way to get from Calgary to Field is to rent a car, especially if you are in a group of 2 or more persons (we will help connect trip participants and faciliate car pooling about a month before the trip start date). You will have to rent the car for the week, which seems like a waste but it ends up costing not much more than, or the same as, a return bus or shuttle fare from Calgary to Lake Louise. Then you need to figure out how to get to Field, and there still remains the problem of transport between Field and the trailheads at the start and finish of the trip.
We will meet for dinner at the Truffle Pigs Cafe in Field on “Day 1” at 6:00 pm (see Itinerary tab). After dinner we’ll have a look through your equipment to make sure everything is in order as well as distribute group equipment.
Please be on time: However, if for some unforeseen reason you cannot make it, please give me a call or text ASAP, Tom Wolfe at 403-707-9996.
I look forward to spending the week together with you and exploring the amazing ski terrain that the Bow Yoho Traverse has to offer!
- Hut to hut traverse, carrying heavy packs (up to 20 kg / 45 lb). If you are concerned that you will not be able to carry your fair share of the weight contact us to discuss hte options. We can accommodate you but we need to know well ahead of time!
- Hut elevations are approximately 2200 m with 700 m vertical and covering 10-15 km/day on average (5 to 7 hrs travel).
- Glaciated terrain
- Powder skiing and ski mountaineering
Packing Notes:
You need to bring all of the following personal equipment. Please don’t bring extra equipment. If you have any questions at all about gear please do not hesitate to contact us.
Ski crampons are a must for spring ski touring, and they can make a big difference even on a powder skiing week at times. If you have any difficulty obtaining these please let me know. We have some spares and can likely set you up with a pair. If you have telemark bindings, G3 crampons have an attachment system that works well for most tele bindings.
For specifics about the clothing and equipment, this illustrated equipment page might be helpful.
Ski mountaineering gear
- Skis, preferably with tech-style Alpine Touring (AT) bindings, 150-185 cm in length, wide (100 mm+ at waist) for powder skiing. Telemark, frame-style AT bindings, or splitboards are acceptable as well, please contact us if you plan to bring one or these alternate touring systems.
- Ski crampons (mandatory; order these well in advance of the trip start date as they can be hard to come by, especially late season)
- Climbing skins — check that the glue is fresh and sticky, especially along the edges
- Ski Poles with powder baskets
- Ski Boots
- Harness – fitted for over your ski clothing (Black Diamond, Blue Ice, Cilao and Camp make the best lightweight ski touring harnesses)
- 2 x Locking carabiners, 2 x non-locking biners (optional)
- 1 x Prusik cord 5 metres long x 6 mm diameter
- 1 x 120 cm sewn sling (optional)
- Avalanche Transceiver – a modern digital unit
- Collapsible Avalanche Probe (240+ cm, not lightweight!)
- Avalanche Shovel (snow shovel designed for companion rescue with an extendible handle)
- Backpack – at least 65 L, large enough for sleeping bag, spare clothes, and your share of group food & equipment. If you are a small person then you can get by with 55 L
- Small emergency candle or small piece of glide wax (for skin icing)
- Don’t bring a small daypack. It’s not necessary and just makes your big pack heavier
Other gear
- Personal-sized hand sanitizer (mandatory)
- Sunglasses and ski goggles
- Water bottle — minimum 1 liter capacity, more if you don’t bring a thermos
- Thermos for Hot Drinks, approx 750 mL (optional)
- Sun block
- Lip cream
- Pocket knife and/or leatherman multi-tool (optional)
- Sleeping Bag — we recommend a three season bag rated between -7 to -9°C. Bring a lightweight compression stuff sac so you have room in your pack for other things.
- Headlamp with fresh batteries
- Small Blister and personal first-aid kit
- Camera (optional)
- Personal toilet items (keep to a bare minimum)
- 1 x Toilet paper roll
- Large stuff sack for carrying food
- Small container for your lunch
- Ear plugs for dorm sleeping (optional but recommended)
- Booties or sandals (Crocs work really well)
Clothing
- Long wool or synthetic (e.g. polyester or polypropylene) underwear (top & bottom)
- Extra warm shirt (not cotton)
- Medium weight fleece sweater
- Soft shell or fleece jacket
- Soft shell pants
- Insulated jacket (down preferred)
- Fleece or synthetic insulated pants — lightweight for April, heavier for Jan-early March
- Waterproof jacket with hood — Gore-Tex or equivalent
- Waterproof pants — Gore-Tex or equivalent, with side zippers
- 3 pairs Wool or synthetic/blend socks
- Wool or fleece hat (called a “toque” in Canada — rhymes with “kook”!)
- Waterproof ski mountaineering gloves or mitts
- Light weight ski gloves
- Neck tube or balaclava
- Sun hat
food and drinks
- Quality food is provided for all meals (including the first dinner and breakfast at Truffle Pigs). Traversing meals are provided for an average to above average eater. Special diets may be accommodated for an additional fee, but also may not be possible; contact us for details. If you are an above average eater, or prefer special snacks, or like drink mixes (electrolyte, etc.) then please bring along a bit extra for your lunches. For reference, we provide one sandwich per day. There should be plenty of breakfast and dinner for everyone.
- Beverages and liquor are not provided. If you want to bring alcohol on the trip then we do not recommened beer or wine as it’s heavy and bulky. One idea that’s popular: bring along a small bottle of Tequila with lime juice powder so you can make margeritas with the snow (we do provide snow in unlimited quantities). Many variations on the cocktail theme work well too! If you are a coffee or tea drinker be sure to bring enough to last you the whole trip. Likewise if you enjoy drink mixes (Gatorade etc.) be sure to bring that too.
- Snacks are not provided. We do provide one sandwich per day for lunch. If you need more than that for your energy needs throughout the touring day please be sure to bring extras like trail mix, bars, pepperoni sticks, chocolate, candy, etc.
Your guide will bring all of the necessary group gear.
booking
Our Booking Form takes a few seconds to complete. We will then contact you to discuss your trip and answer any questions you might have. This is your opportunity to figure out for sure if this trip is for you, without obligation. To secure your booking you must complete our Online Waiver and Application Forms and pay your deposit.
Final payment is due 3 months in advance of your trip start date unless otherwise indicated. Please note that deposits are absolutely non-refundable, and final payments are non-refundable after the final payment date.
Paying
All of our trips are priced in Canadian Dollars. The approximate exchange rate is given for your convenience on each trip information page.
Foreign clients (and Canadian clients paying with a credit card): You will receive your invoice via Flywire, our online payment and foreign exchange service, after we review your booking application. You will be given various options of payment by credit card or bank transfer. For foreign clients, the exact rates you will be charged will be listed in the currency of the country you indicate to Flywire. These rates are competitive and offer good value compared with other options like bank transfers. There is no additional fee for credit card payments as this is wrapped into the rate offered (hence the higher cost of credit card payments).
Canadian clients paying by E-transfer: You will be invoiced via our accounting system Quickbooks. Please send an E-transfer to billing@sawback.com. If you prefer to pay by credit card in CAD indicate this on your Application Form. We charge a 3% processing fee for CAD card payments.
Booking Conditions Fine Print
READ CAREFULLY – BOOKING, RESERVATION, DEPOSIT: A deposit of 50% of the total price or private guiding fee is due with your booking unless otherwise indicated. You are required to complete our waiver and application forms during the booking process. You will be sent an invoice via our invoicing system, Flywire which provides all payment options available except Interac e-transfers. Flywire also provides foreign currency rates for the various payment options so you can pay in your local currency. If you wish to pay in CAD by E-transfer send funds to billing@sawback.com. Final payments are due 90 days before your trip starts. CONFIRMATION / TRIP INFORMATION: Upon receipt of this registration form we confirm your booking and you agree to pay your deposit within 7 days. Each trip we offer has a detailed trip information page (available on our website) with the trip details, equipment list, proposed itinerary and logistics, etc. Read through this carefully before completing your registration. TRIP (CANCELLATION / MEDICAL / EVACUATION / THEFT) INSURANCE: Once you complete your registration, we enter into financial obligations on our side and we cannot refund payments or release you from your contractual obligations. Therefore, we highly recommend buying cancellation insurance to cover your losses for the case that you can’t participate or have to interrupt your trip “for any reason”. Also, all participants need to have internationally accepted health insurance for all activities pertaining to the trip, including coverage for emergency rescue and evacuation. If you already have insurance, please make sure that you will be covered for “roped travel” booking a technical trip including “Via Ferrata” trips. We will gladly refer you to a travel insurance provider who offers “adventure travel insurance packages” and with whom our clients have had positive claims experiences in the past. Generally, you will receive the best benefits if you buy your insurance within 10 days of our booking confirmation. We strongly urge you to read our Insurance Information page carefully before booking your trip. CANCELLATIONS: If you need to cancel a reservation, please do so in writing (best by e-mail). CANCELLED PROGRAMS: Once we confirm your booking, we guarantee your trip departure. However, we do reserve the right to change guides, particular lodging or the itinerary or venue should unforeseen circumstances (guide sickness, hut or route closing etc.) force us to do so or should the physical condition of the participants (see below), weather or mountain conditions make a continuation as planned too risky. We will not be deemed to be in default for any delay or failure to perform our obligations under this Agreement resulting from acts of God, the elements, war, acts of government, civil or military authorities, natural calamities, catastrophe, fire, flood, accidents, epidemics, shortage of transportation, or any other like events beyond our reasonable control. PERSONAL FITNESS and GROUP TRAVEL: Our programs rely heavily on the integrity of each individual to assess his or her skill level and physical condition accurately. It is the responsibility of each participant to be aware of the necessary skill and fitness level for a particular trip. When in doubt, please call and discuss this with us! For the protection of yourself and other group members, we reserve the right to deny participation to any unprepared participant at any time of the trip, in which case we cannot offer a refund! In order to accommodate diverse levels of ability and ambition as well as diverse personalities, the decision making of the guide has to be geared towards safety and finding a consensus within the whole group, which may not please each individual participant at all times.
April is the best month to do the Rockies hut traverses. Early April is likely to be a bit cooler and have powder skiing even on the solar aspects. The Rockies has a thinner snowpack than the Selkirks or Coast mountains, but by April the snowpack tends to be robust and the crevasses well covered. Expect temperatures in the -10C to 0C range, but be prepared for lows as cold as -20C or highs up to +5C!
Day 1: Truffle Pigs Bistro & Lodge, Field, BC
6:00 pm — Introductions over dinner in Field, BC at the “Truffle Pigs Bistro” (dinner is included in your trip fees). In case you haven’t heard of it — this is one of the finest restaurants in the Canadian Rockies! After dinner it’s back to your rooms where your guide will pay you a brief visit for an equipment check and distribution of group gear and food.
Day 2: Bow Hut
7:00 am — a leisurely breakfast, again at the Truffle Pigs cafe. Bagged lunches will be provided by Kicking Horse Lodge. Make sure your backpacks and ski gear are packed and ready to go.
8:00 am — depart for the trailhead at Bow Lake (Num-ti-jah Lodge parking lot)
The ski from Bow Lake to Bow Hut takes anywhere from 3 to 5 hours depending on conditions and group speed. There should be time left at the end of a day for a quick lap on the awesome slopes above Bow Hut at the end of the day.
Day 3: Guy Hut
Traverse day. We’ll set our course west for the Guy Hut, traversing over the Gordon-Rhondda pass, over the Yoho Glacier’s gnarly icefall, below the spectacular Mt. Collie, and a short distance down to our hut below Yoho Peak.
Day 4: Guy Hut
Peak bagging day. The Guy Hut is not only the premiere hut on the Wapta, it’s also an excellent staging point for many of the great ski runs in the area including Yoho Peak N and SE faces, Des Poilus SE face, the subpeak to the north of Des Poilus, Mt. Collie, to name the plums of the area! Most of the objectives are for fair weather, but there’s one tree run that you can access surprisingly easily from the hut that provides great storm skiing believe it or not!
Day 5: Stanley Mitchell Hut
There are two ways to get to Stanley Mitchell Hut, both pretty darned exciting. The first, over Isolated Col, is steep and relentlessly exposed to avalanche hazard on both the north and south sides. The second is over the Whaleback, which has less avalanche hazard and which in the right conditions offers a good ski descent through a lightly treed avalanche path to the valley bottom and then a trudge up-valley to the famous and ancient Stanley Mitchell Hut. In the winter of 2018 — all three times! — avalanche hazard was low, so we dropped our loads at the top of Isolated col for a hot lap on the outstanding 300 m north facing side (back towards Des Poilus) for an outstanding powder run, and completed the day in style with a long descent down the south side. This old log structure has been shelter to thousands of skiers since the early days of mountaineering in the Canadian Rockies.
Day 6: Stanley Mitchell Hut
If you’re in the Little Yoho Valley with the wood stove crackling then you will definitely want to stay for at least one more night…. So that’s our plan. Our last full day of adventure offers opportunities at bagging the Presidents, Mount MacArthur, Isolated Peak, Mt. Kerr, or doing some cool loop trips or storm skiing on the Vice President trees or glacier.
Day 7: Trip conclusion
The ski out from Stanley Mitchell Hut is best if you can head up over the Iceline trail and out via Yoho Pass and Emerald Lake Lodge. This requires good stability and cool conditions, so we might have to slog out via Takakkaw Falls road. Either way, we will aim to be back in Field by 2 pm at the latest. This is the end of the trip. You have the option of kicking back by the shores of the Kicking Horse for another night (extra charge applies) or jetting back home.
Tom Wolfe
(Mountain Guide ACMG/IFMGA) has been guiding since moving to Canmore in 1995, the place he calls home with wife, son and daughter. He guides year around, with winters being a mix of ski guiding at lodges, heli-ski operations, and remote backcountry destinations throughout western Canada. He has been involved with the Alpine Club of Canada for over 20 years including running the summer Mountain Mentorship Program for the Toronto Section, and winter ski trips for the Vancouver Section. He has been invited as a speaker at the Vancouver Section’s November 27, 2019 — your chance to meet him in person! Email: twolfe@sawback.com, Cell: (403) 707-9996
Here’s an unsolicited review (a blog post actually) about a Bow-Yoho trip from 2018. Enjoy!
2018 – Bow to Yoho Ski Traverse


