Guided Backcountry Days
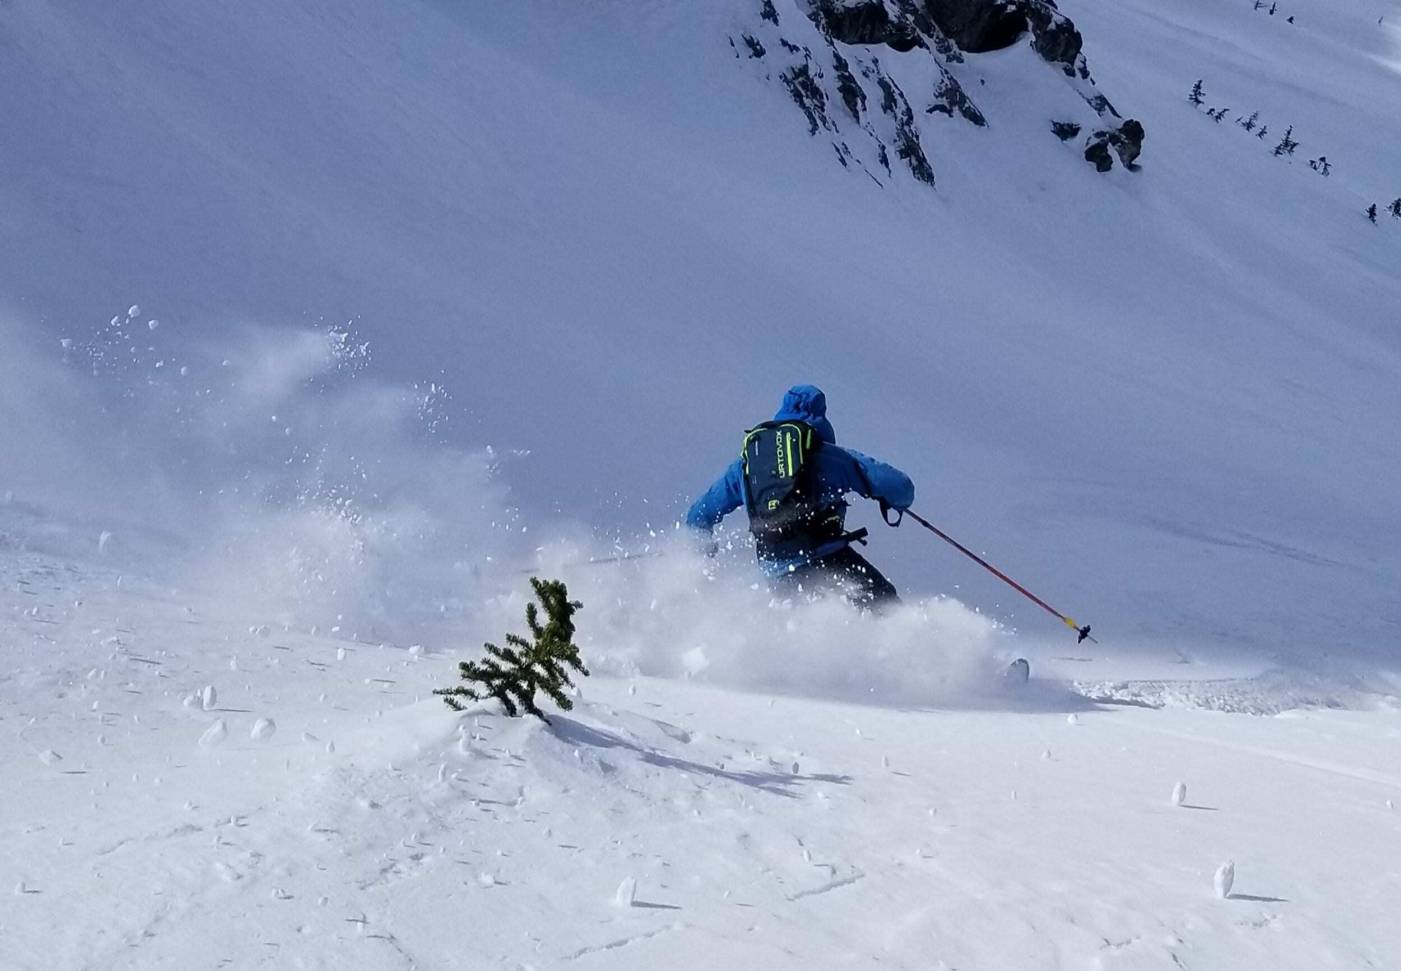
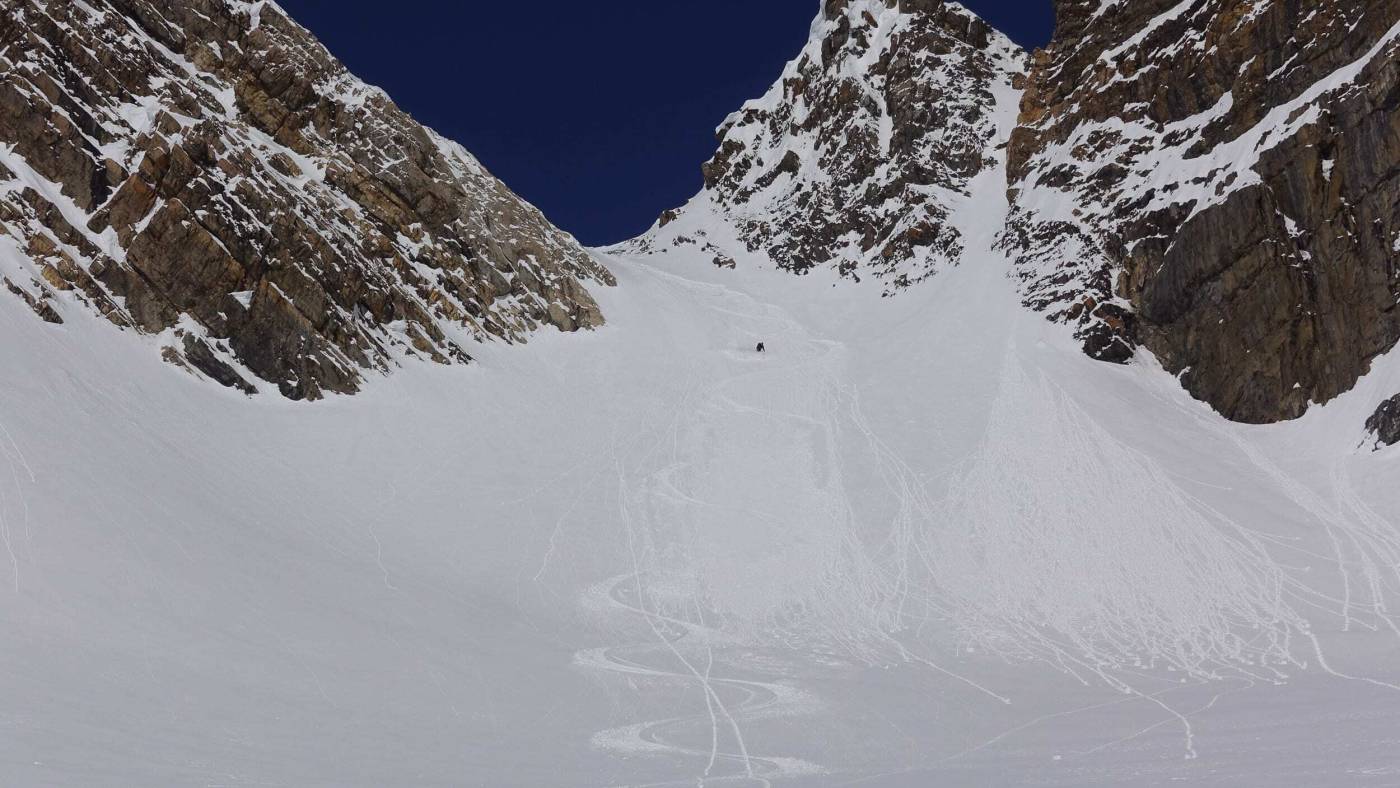
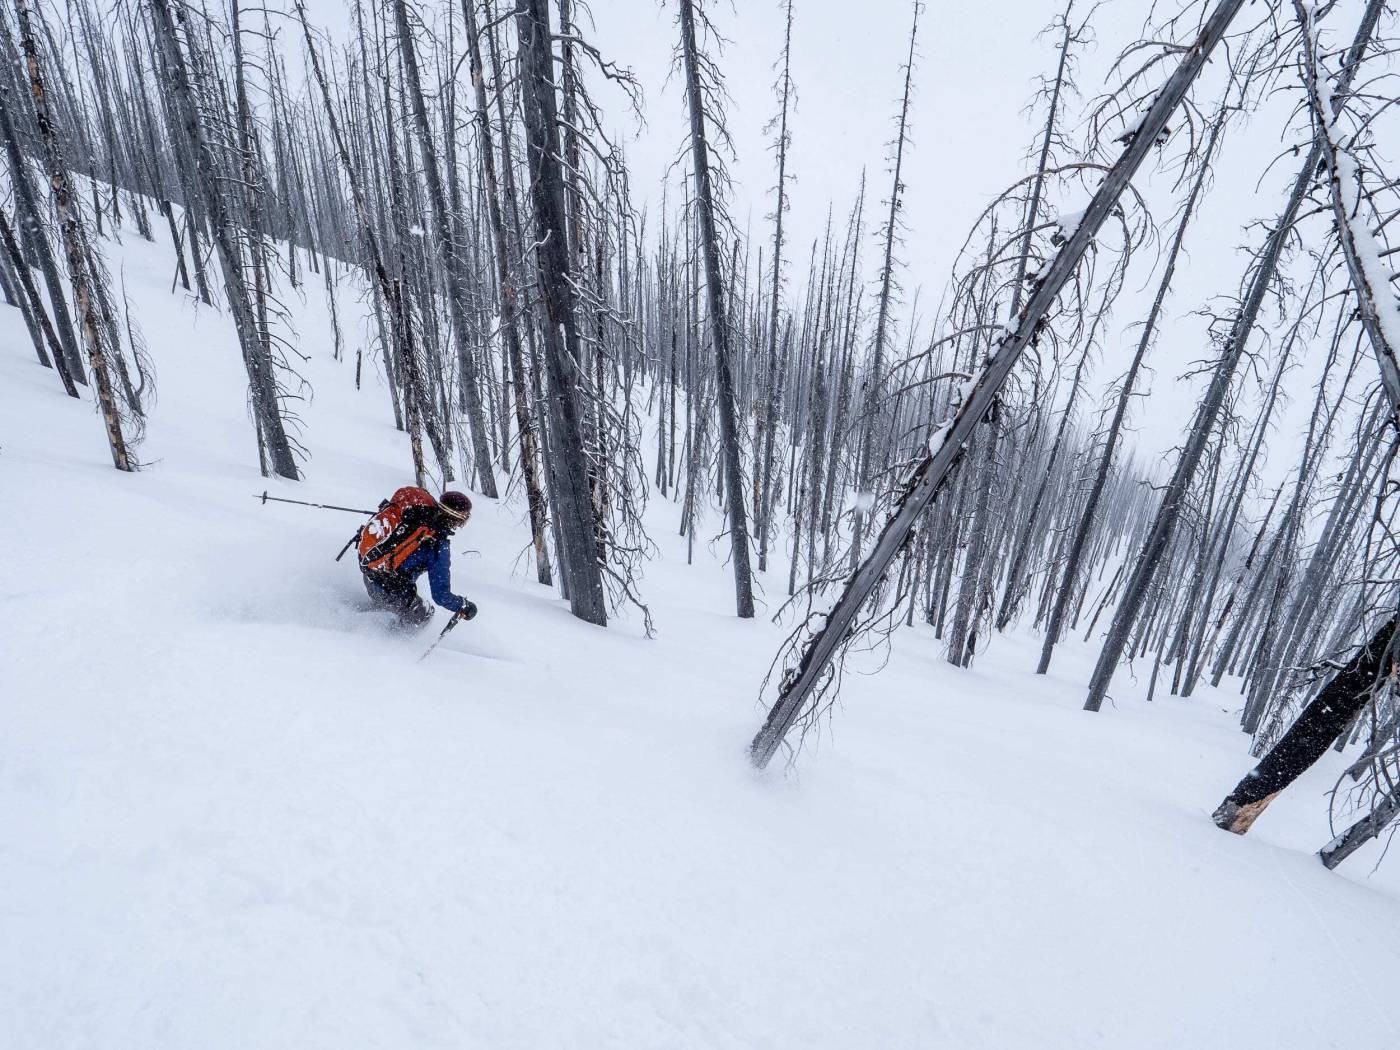
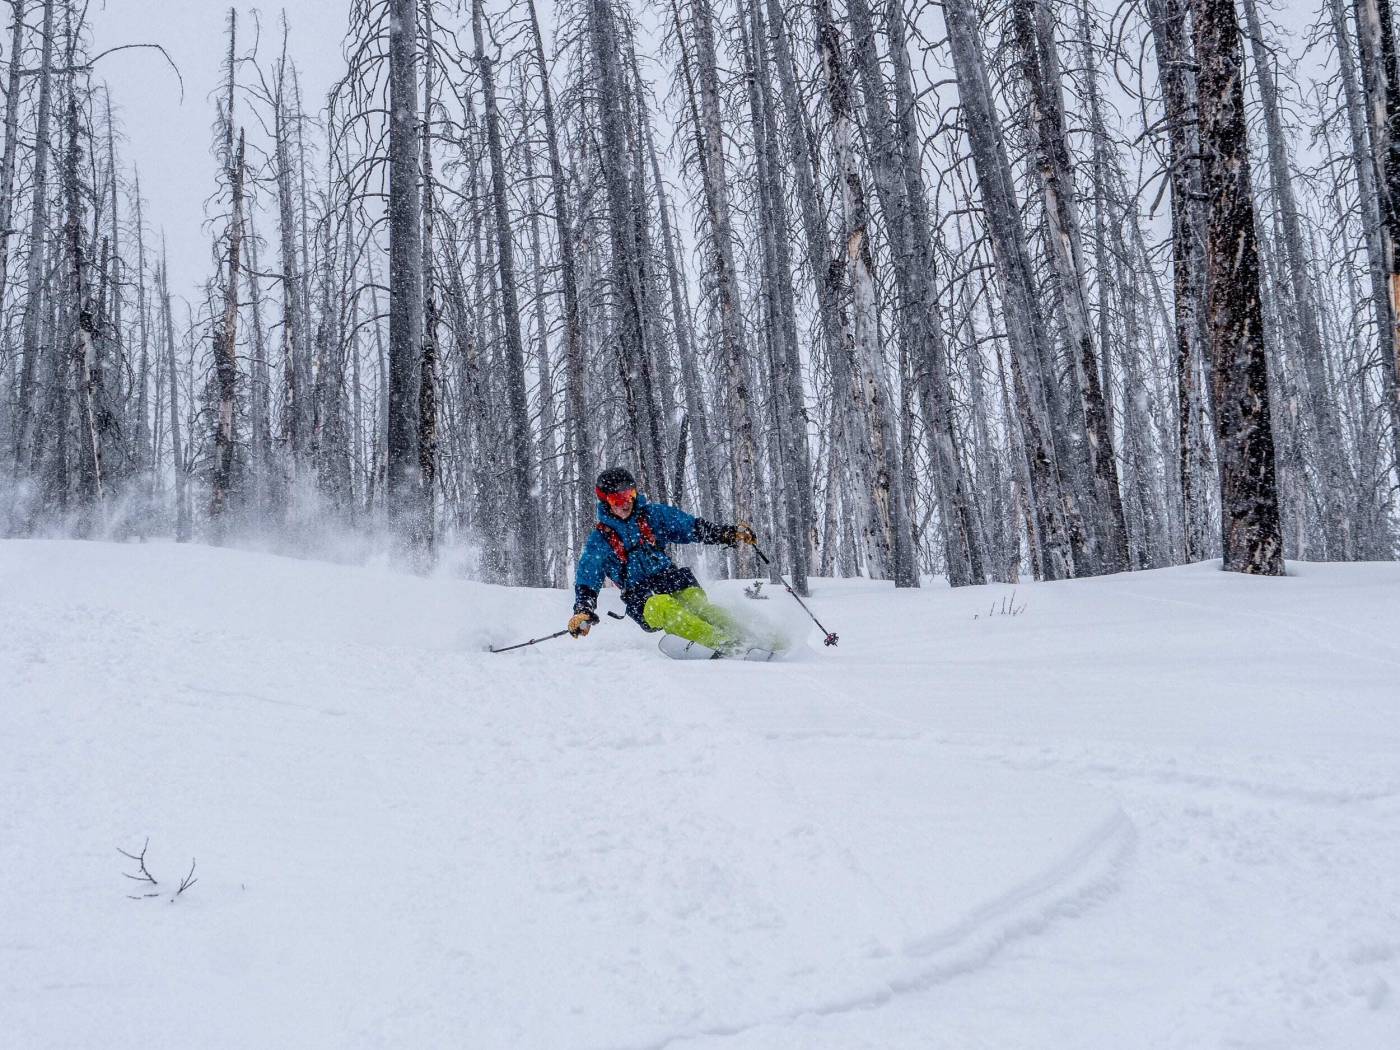
Incredible backcountry riding, close to home
We’ll show you the goods
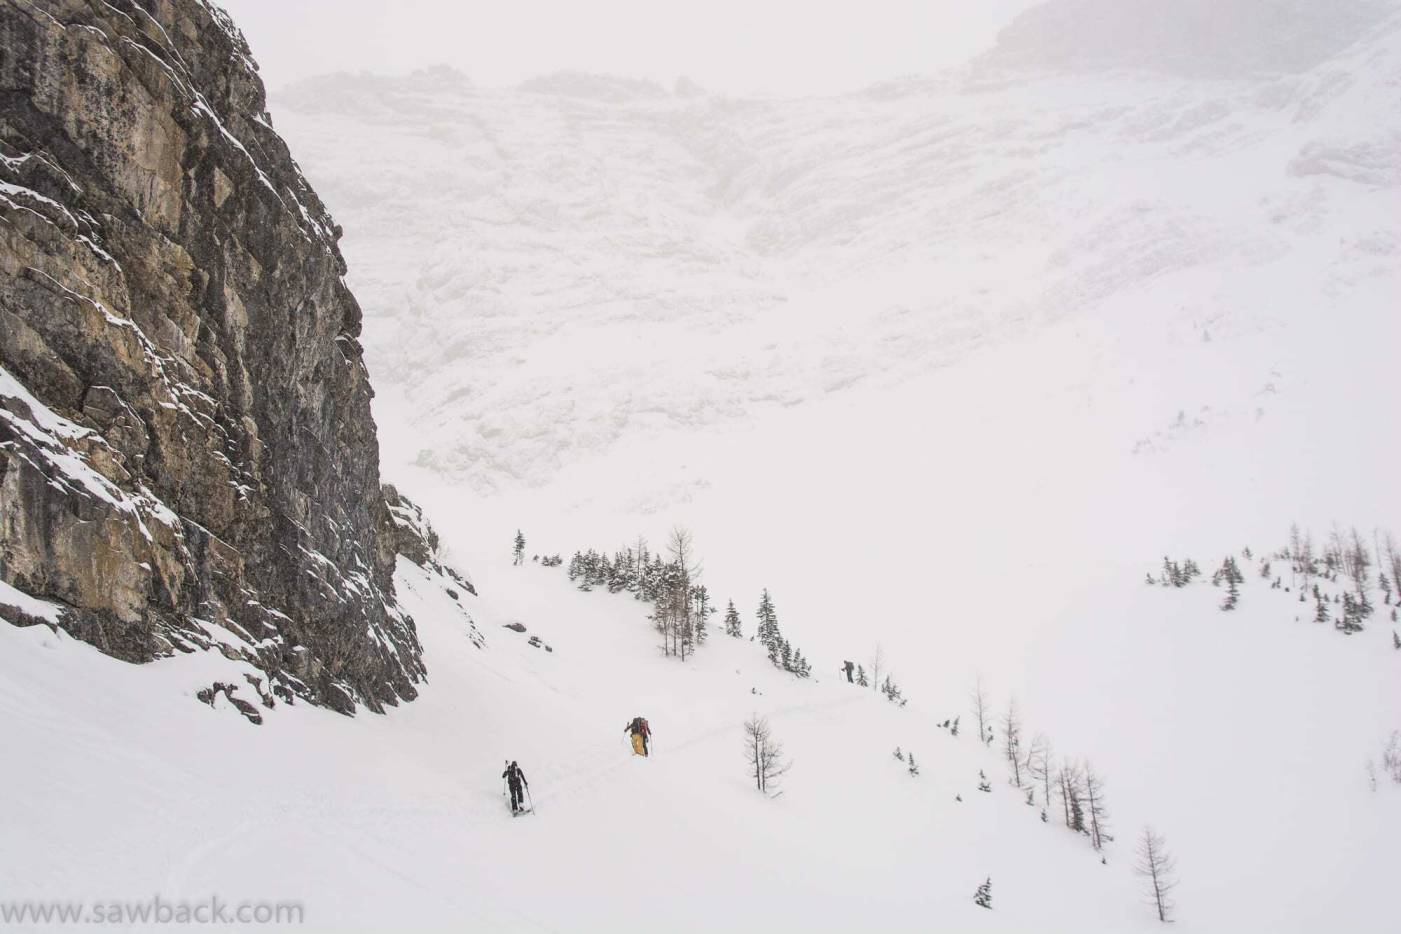
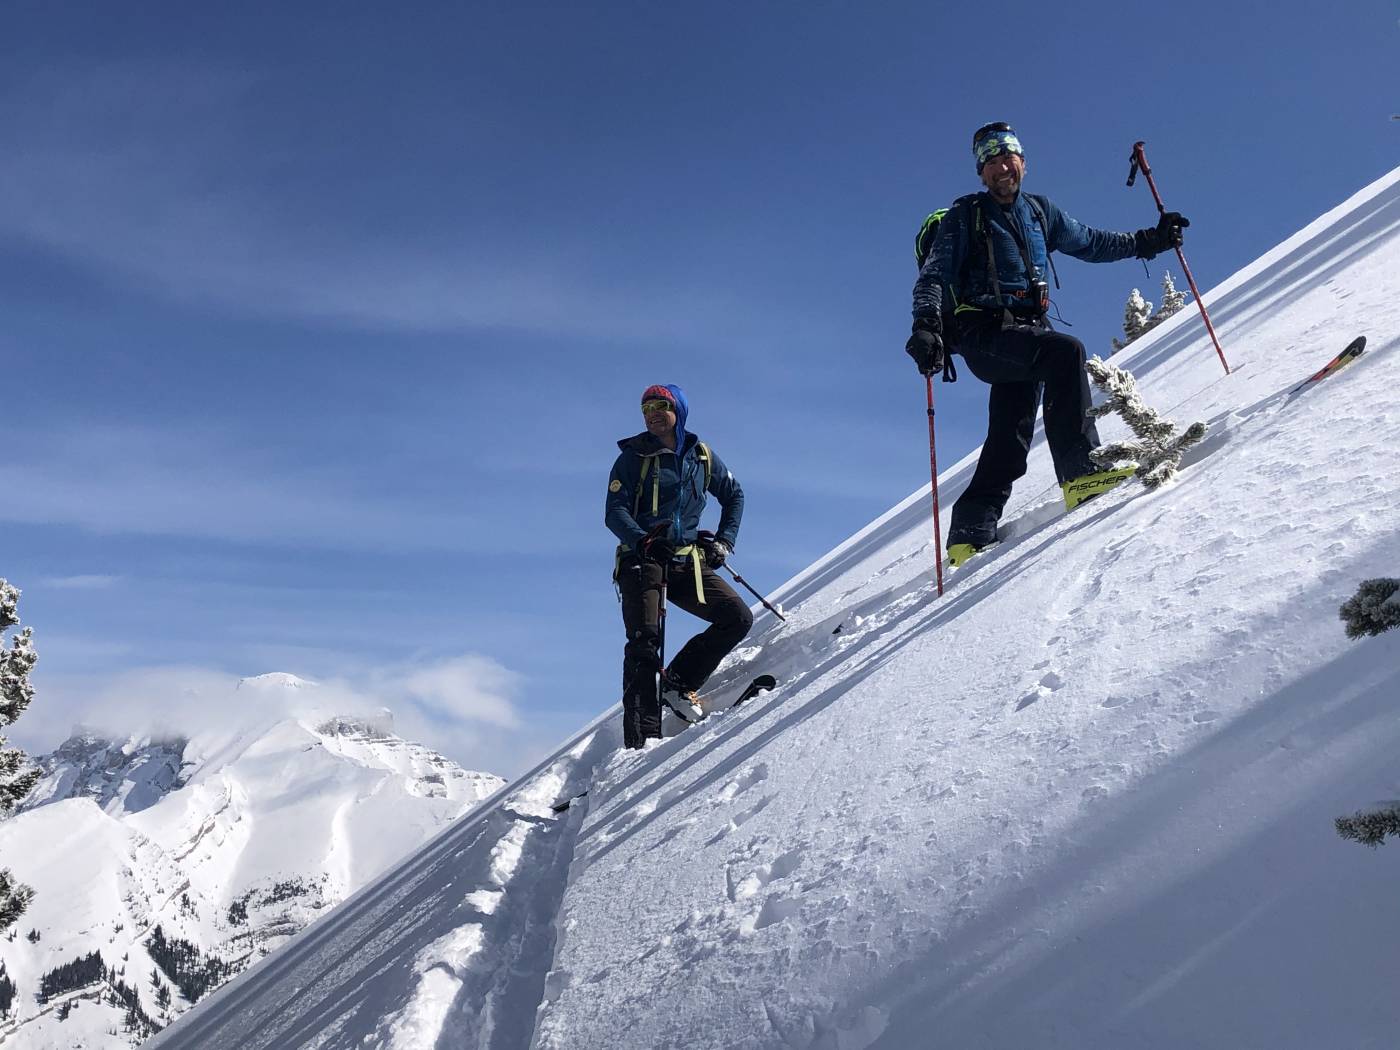
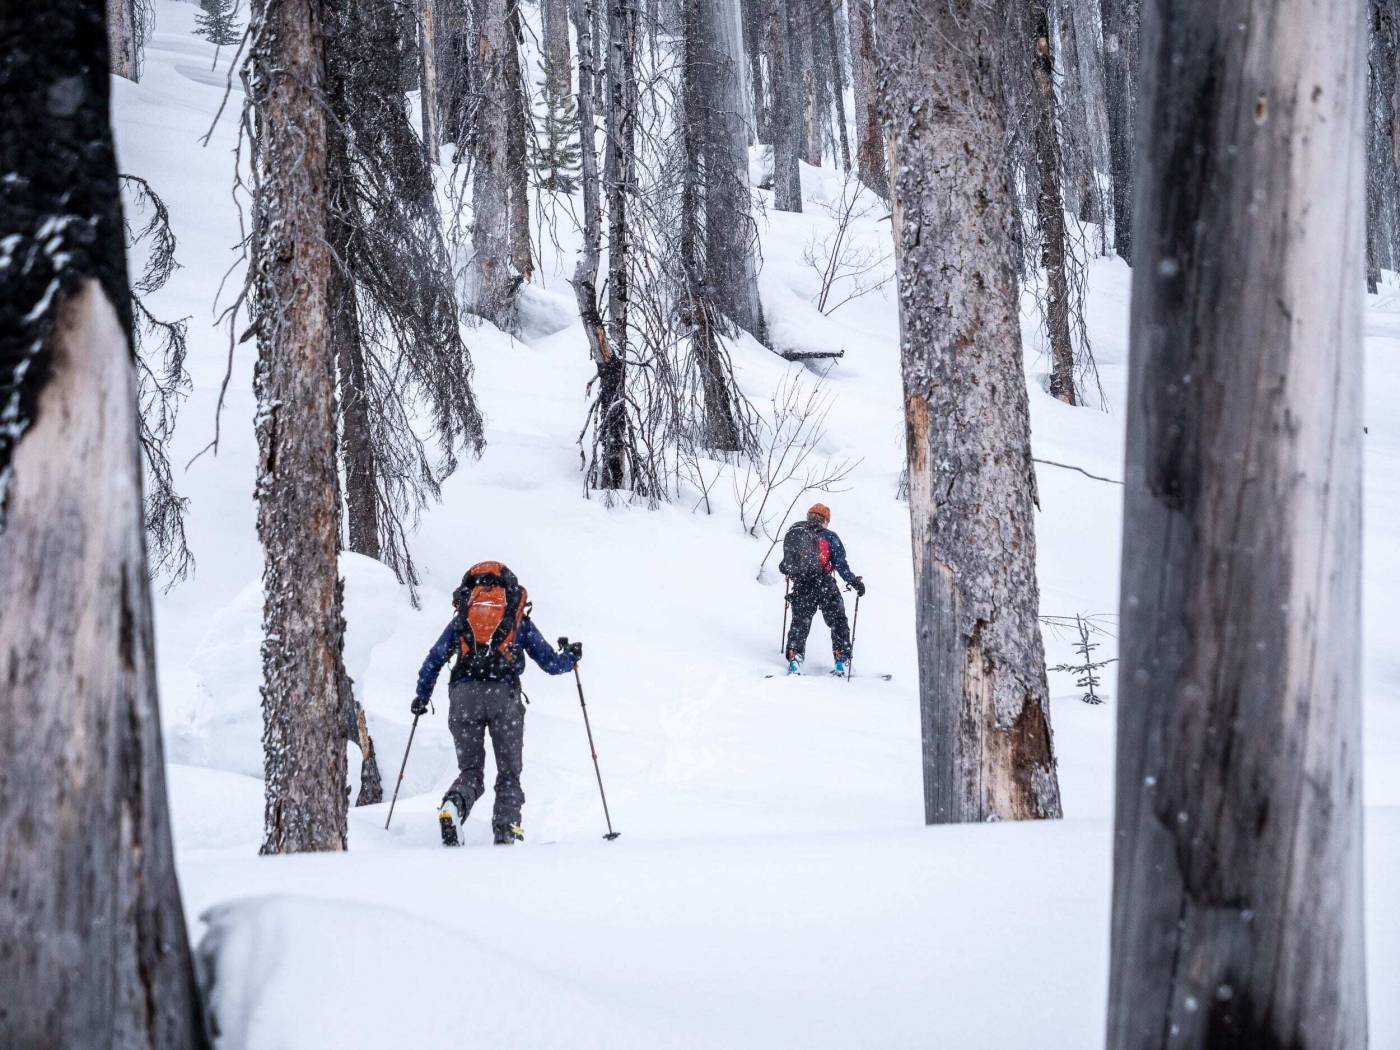
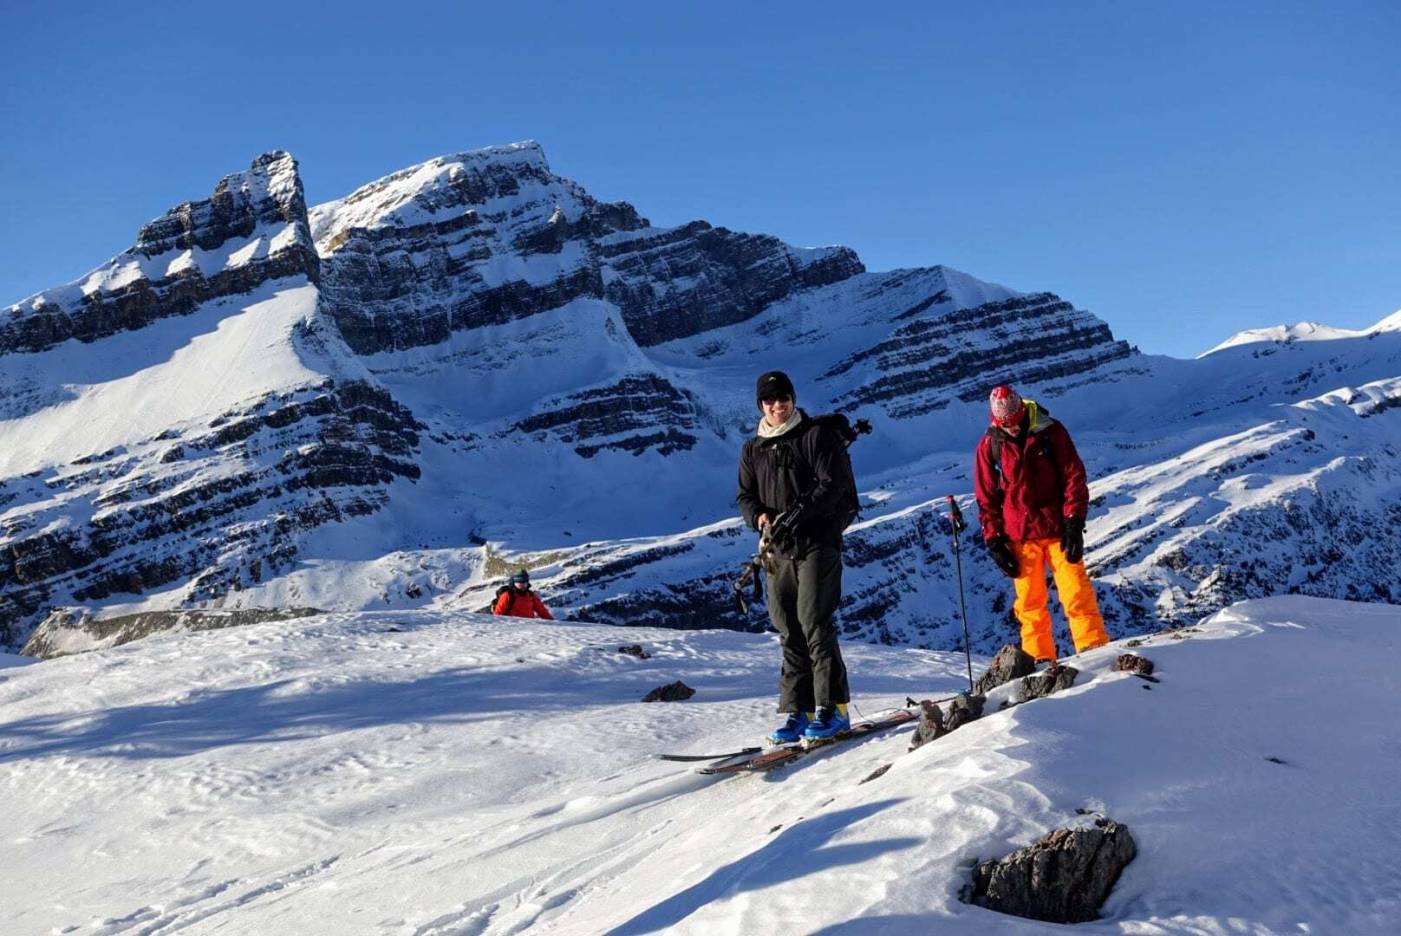
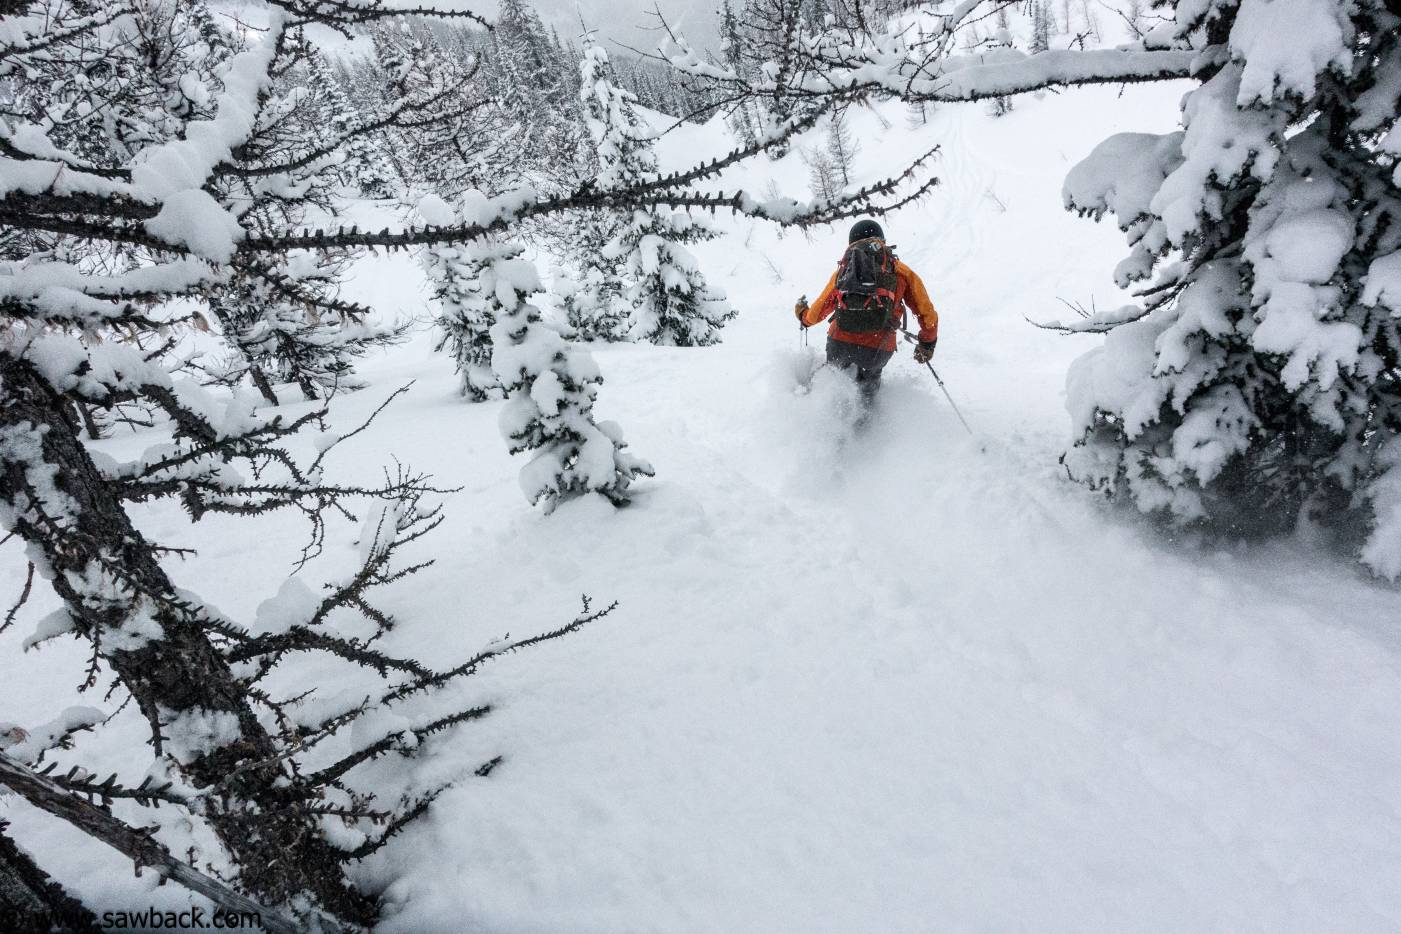
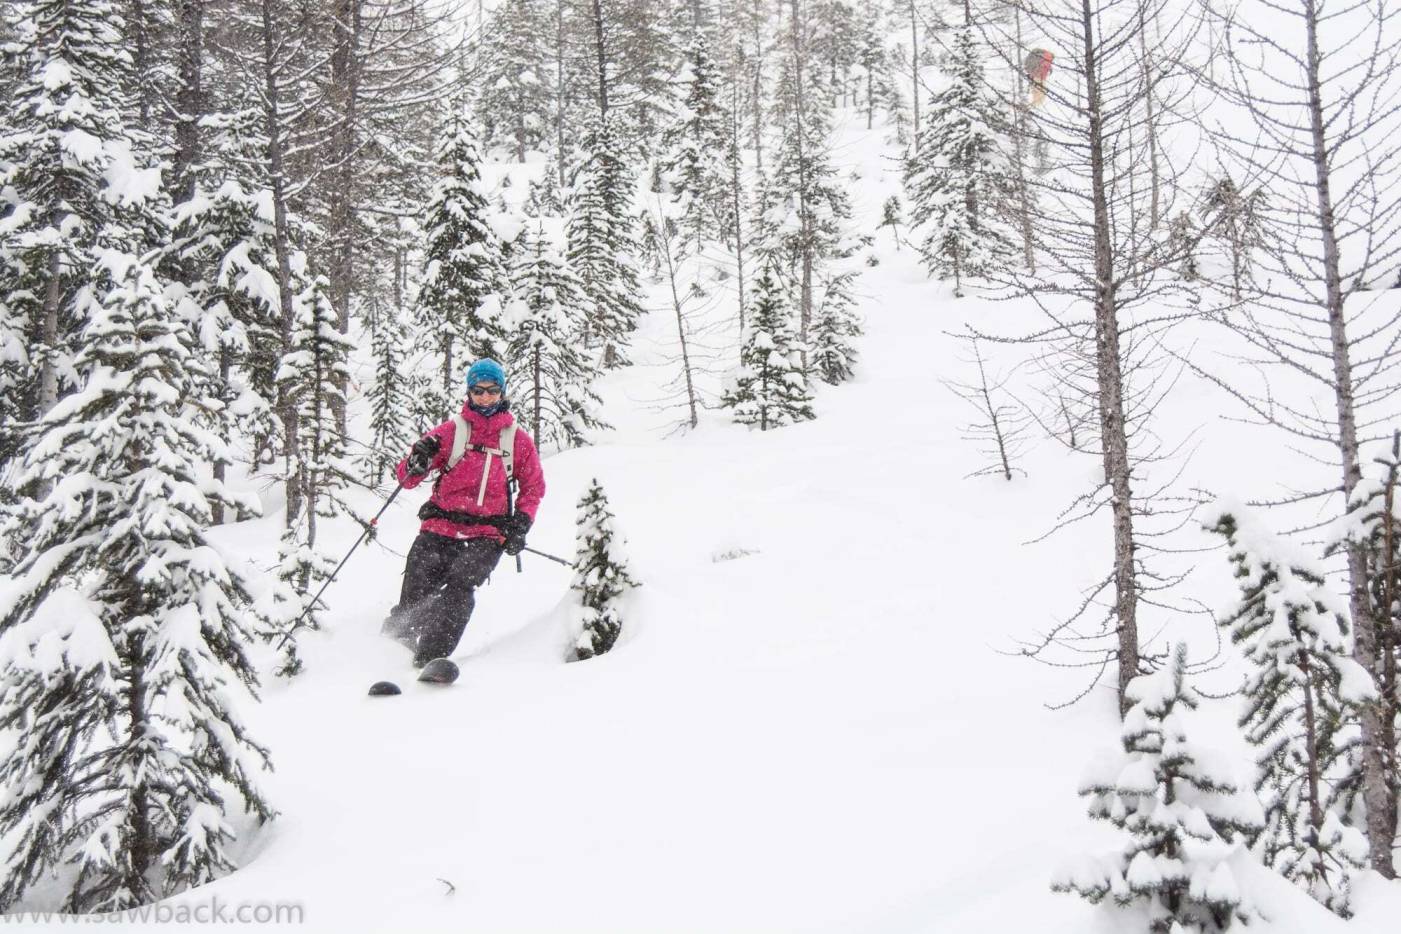
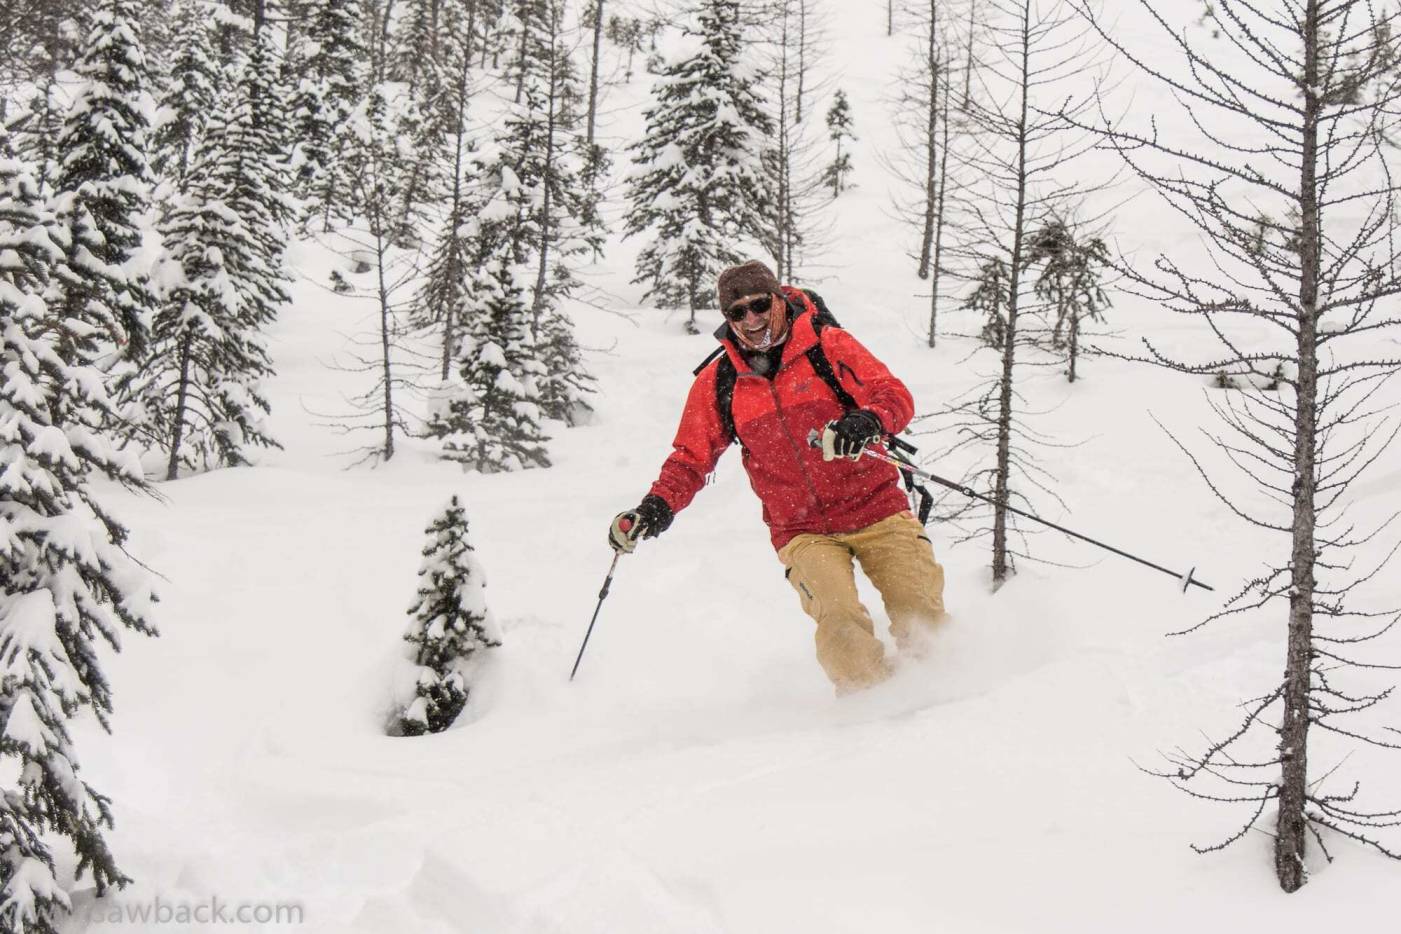
We will meet at 8 am, location TBA. We’ll do a quick equipment check and go over the plan for the day. From there we’ll convoy up to the trailhead. Ski tours will take place in Kananaskis Country, Banff and Kootenay National Parks, or the Canmore area.
Meeting time and location
We will meet at 8 am, exact location TBA
Some trips might require ski crampons and glacier gear. Check with your guide to make sure!
Ski Touring Equipment
Each of our ski trips has its own specific equipment list. But what you bring for a day trip of ski touring or ski mountaineering is pretty standard. Here’s a photo and a description of what’s recommended.
Clothing
Wool or synthetic socks and liner socks – I like to wear double socks. It’s warmer and more comfortable. Typically with a new pair of boots I start with a single sock and then after a week or two of use the liner packs out with room for a second thin pair of socks.
Long underwear top – synthetic or wool (less stinky but less durable)
Light fleece or wool sweater – A medium weight, compact fleece jacket without bells and whistles.
Wind shell – nylon or ‘Schoeller’ type jacket. I have two different types, an ultralight (e.g. Patagonia Houdini) for warmer weather and a heavier one for cold weather. Both have hoods.
Waterproof breathable jacket – such as Goretex. Doesn’t have to be heavy-duty, just in good water-repellent condition
Warm insulated jacket – aka “Puff jacket” or puffy; down or synthetic
Long underwear bottoms – synthetic or wool. Double up in cold weather with an extra pair, or a pair of lightweight stretchy fleece pants.
Multipurpose stretch nylon pants – aka “softshell” pants.
Waterproof breathable pants – made out of Goretex or a similar material.
Warm hat – wool or synthetic. In Canada we call this a “toque”.
Brimmed cap – for sun protection. aka “baseball cap”. A visor works well in warmer weather and you can put a toque over top of it if it’s cold.
Face warmer – scarf, neck tube or balaclava aka “buff”
Gloves – wool, synthetic or leather. Lightweight gloves for spring tours; insulated gloves or mitts with waterproof outer shell for colder weather
Spare gloves or mitts – your spare gloves should be of the insulated, warmer variety. Bring mitts if you are expecting especially cold weather or if you are prone to cold fingers.
Handkerchief – from late February onwards the sun packs a punch. A handkerchief serves a few useful functions: sun protection (tuck it under your cap to shade your neck), cleaning your goggles, wiping sweat off your brow, washing up on a longer ski traverse.
Snow Safety Equipment
Avalanche beacon with good batteries – Any modern digital beacon manufactured in the last 5 years is a good bet. My favourites are the Barryvox S and Pieps Pro BT, both professional grade beacons, but the recreational versions are good too. Ortovox, Arva and Tracker make fine beacons too. It’s a good idea to bring spare batteries. If your headlamp uses the same batteries those can do double duty as spare beacon batteries (since, hopefully, we won’t be using the headlamp much!) When you turn your beacon on in the morning it should always read 30% or greater battery life. Your beacon transmits well down to almost 0%, but you need power for a search. Your beacon can use up that remaining 30% in an hour of searching. Replace your batteries when they get below 30% (that’s still plenty of power for a headlamp, so don’t just throw them away!)
Shovel – the lightweight shovels without an extending handle aren’t much use. Get a real shovel with a strong tempered aluminum blade and an extending handle. The “hoe” models are really effective but tend to be a bit on the heavy side. Mammut makes a quality shovel that strikes a good balance between light, strong and effective.
Probe – don’t get the lightweight “skimo” style. Get a real, burly probe with a minimum length of 240 cm, a steel cable (instead of cord) and centimeter markings. I really like Black Diamond’s Quickdraw Tour Probe 280.
Travel Equipment
Skis or split board – Skis should be 155 cm long for small women and up to 190 cm for large men who like to shred with 165-175 being the most common range. Skis should be 95-115 mm in the waist and of the lightweight touring variety (my fave recently is the Fischer Hannibal 106). If you ride a snowboard, about 160 cm long is a good length; a few cm shorter if you’re small, a few cm longer if you like to shred the big stuff. Spline makes a fine splitboard.
Tech bindings – I don’t know a single ski guide who uses frame bindings anymore. There are many excellent tech bindings on the market. G3 makes the Ion and Zed binding. Both are easy to use and have brakes (sold separately with the Zed). The Ion is strong and time-tested; the Zed less so but it’s lighter. I’m a fan of SkiTrab’s Vario2 binding which is unbelievably light and strong and comes in a model with brakes, the Vario.2 Stopper. It’s tempting to go for a binding without a brake to shave down the weight, but I encourage you to use a binding that has a brake. I’ve had a ski go for a ride without a brake and it’s no fun at all. If you don’t use brakes you must have leashes. SkiUphill sells break-away leashes that snap before your leg does.
Ski or snowboard boots – Skiers: I encourage lightweight touring boots that weigh in under 1500 g (size 27). There are many excellent options to choose from these days; go with the one that fits you best out of the box and get professional bootfitting services to make them comfortable. Boots are the #1 most important thing to get right before you go ski touring. If they give you blisters or pressure points a lovely day in the mountains can turn miserable. Splitboarders: soft boots are very comfortable but are not great for walking in. Hardshell boots are almost universally used by serious splitboarders, but it’s a big investement to switch over your system. Waxing tip: do NOT use fluro waxes for your touring skis. This will cause difficulties with the skin glue sticking and might even damage your skin glue.
Poles – non-adjustable poles in the 115 cm (short women) to 130 cm (tall men) range are good: strong, simple, lightweight, failproof. I suggest wrapping some tape 30 cm from the handle end as something to grip on to if they poles don’t already come equipped with something. Adjustable poles are the most popular and mostly fine, but they are much more prone to breakage or failure. More important than length though is that they have powder baskets. Don’t show up with racing baskets or you’ll be hating life as they sink with every pole plant.
Climbing skins – The priority with skins is GLIDE over climbing grip every time. I recommend 100% mohair skins made by Colletex. SkiTrab and Pomoca make nice skins too. Racing skins (e.g. Colltex PDG) are great, but they aren’t as durable so if you do a lot of touring you might look at something more durable (Colltex Extreme for example). Mohair/Nylon mixes are more durable and glide almost as well (e.g. Colltex Combin). I favour “straight” skins that are a constant width (a few mm narrower than your ski’s waist). They climb fine, glide better, are lighter, and pack up neater with no exposed glue. Above all, avoid G3 skins. They have had too many serious issues with glue over the years. Finally, make sure your glue is STICKY. If the skins aren’t sticky, get them professionally reglued at SkiUphill in Canmore. You can reglue yourself but getting them professionally refurbished is cheap and easy and the results are worth it.
Skin wax (or a candle) – rub this into your skins before your trip and they will glide better and ice up less. Run a warm iron down them to get the wax to set better. This is the one time using a fluro wax for ski touring is recommended. Swix makes a liquid wax specially for skins that’s even easier to apply!
Ski crampons – check your trip’s equipment list to see if these are required. Crampons these days are very specific to the binding so make sure you get the right kind, and be sure to order them weeks or months in advance as they are often hard to come by at the last minute. They are required for most of our trips. 9 times out of 10 we don’t need them, but when we do we really need them. Make sure the width of the crampon specs is equal to or up to 15 mm wider than your ski’s waist. A few mm narrower might work — you could try bending the crampon a bit in a vice; but that’s not really recommended. If you’re having trouble finding ski crampons give me a call and I’ll see if I have an extra pair available for you.
Binding repair kit to fix your personal travel setup – there are too many different bindings out there these days. Be sure you bring the correct tools (e.g. torx bits, etc) to fix and adjust your bindings in the field.
Personal Equipment
Ski touring backpack (35 litres) – 30 L might work if you’re small; 40 L is good if you like to pack a big down jacket. But 35 L is the magic number and you can’t go wrong with a pack that’s specially designed for ski touring in that size.
Sunglasses – Having both orange and dark (brown) lenses is a real benefit for uphill travel in all conditions
Goggles – orange lenses help with contrast in the conditions you typically need goggles for.
Sunscreen and lip balm — sunscreen in a small container; lip balm should have minimum 15 SPF. Zinc- or titanium- based creams provide the best protection.
Head lamp with good batteries – it’s best to have a headlamp that takes the same batteries as your beacon.
Insulated water bottle or thermos – have capacity for 2 L of fluids for your touring day.
Lunch container – a lightweight/durable container to keep your lunch from getting squashes is recommended
Personal blister kit – you’re responsible for providing your own blister care supplies. Be sure to come well stocked, especially if you have newer boots/liners
Pocket knife – optional
Camera – optional. Phones these days do a good job.
Glacier Gear (if required)
Harness – fitted for over your ski clothing. My favourite harnesses for ski touring is the Choucas made by Blue Ice. It’s so tiny and light I lost it in my pocket for a couple of days once.
Locking carabiners (x2) – one “triple action” would be ideal. The “Triact” locking version of this Petzl biner is perfect.
Depending on your trip you may be required to bring additional glacier gear supplies; check the trip’s specific equipment list to be sure.
Group gear
Our guided trips provide all of the necessary group gear (GPS, emergency communications, first aid, tarp, ropes etc.) so you don’t have to worry about any of that.
GPS: If you download Gaia for your smart phone (Android or iPhone) you’ll have a great way of keeping track of where you are. Be sure to download the map specific to the area you’ll ski in so that you can use it offline.
Where to shop
SkiUphill is your one-stop shop. They have just the right bindings, skis, and other lightweight but functional gear and will give you good advice. Walk in, tell them I sent you (and what trip you’re doing), and they’ll set you up!
Our standard Payment and Booking Conditions apply, please read through this carefully.
DATES:
Dec 17, 21, 26, 27, and/or 28
PRICE: $199 CAD + GST per day; Powder Pass (all 5 days) $888 CAD+GST.
PREREQUISITES: Advanced Snowboard or Ski ability. Good level of fitness, ability to comfortably tour at a mellow pace for 4 – 6 hours
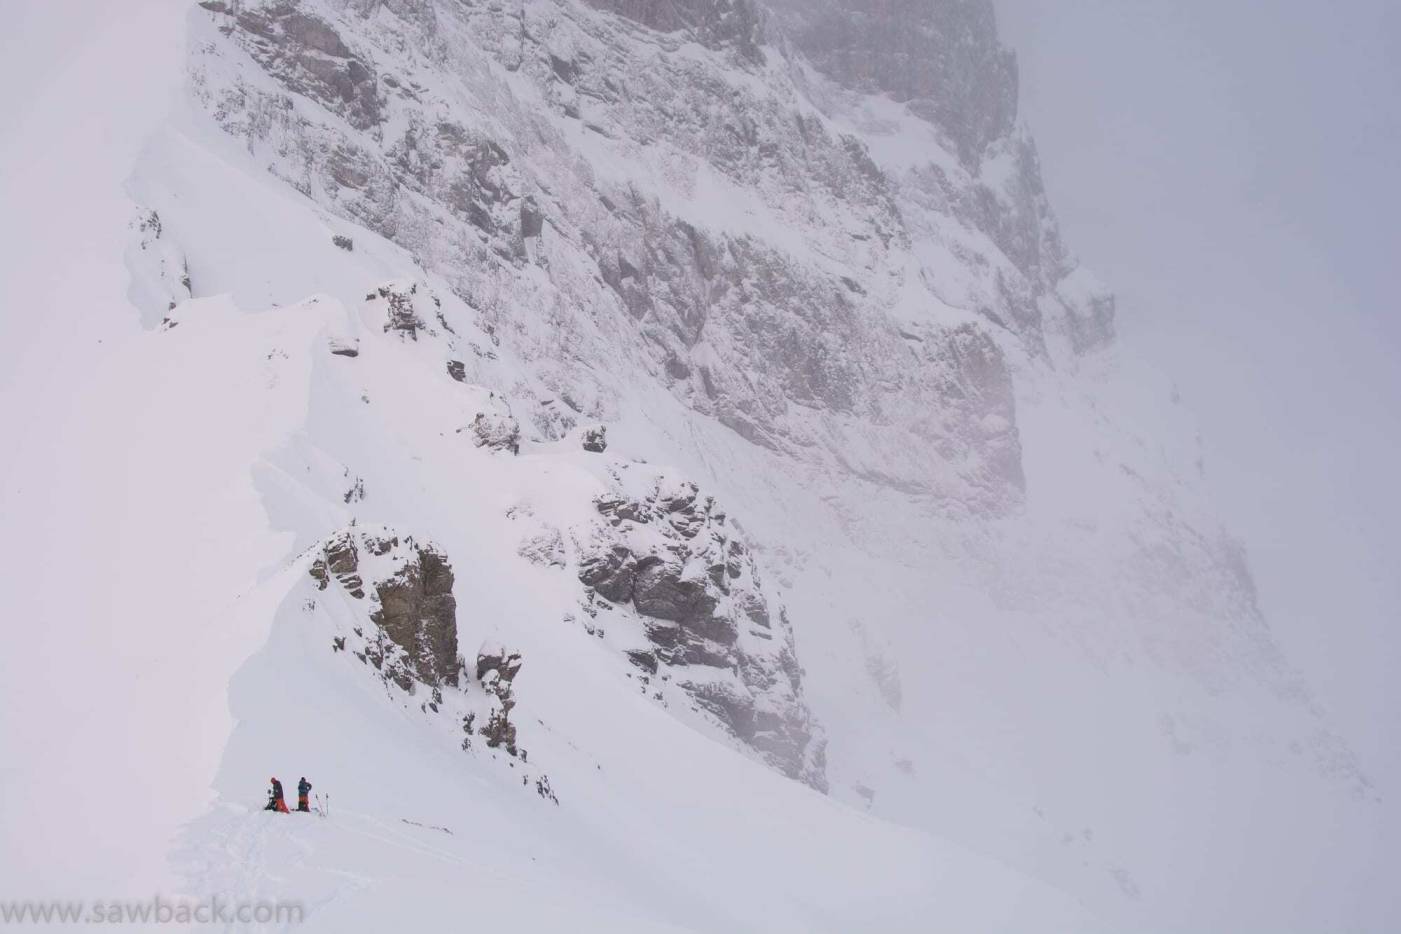
LOCATIONS: Exact locations, plans and objectives will be dictated by conditions and avalanche hazard.
INCLUDES: Full day of guiding, Free Avy Gear Rental, Discounted Splitboard Rental


